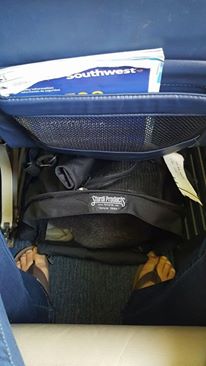
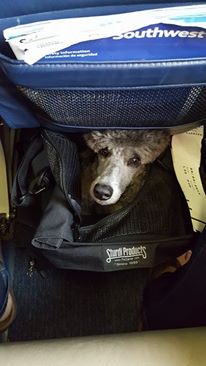
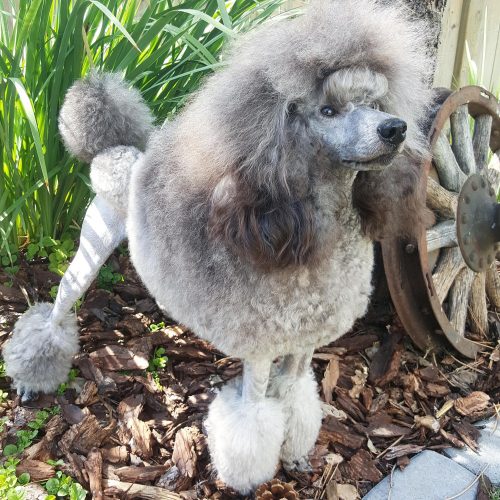
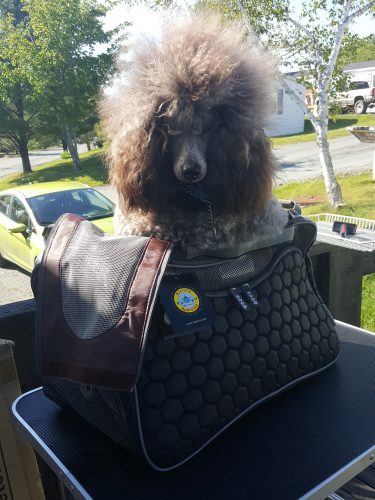
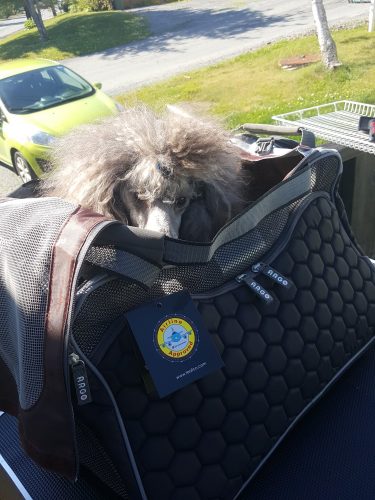
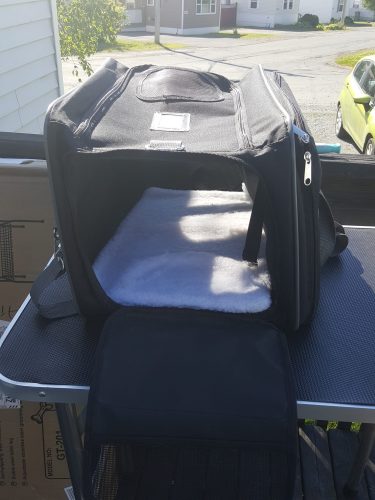
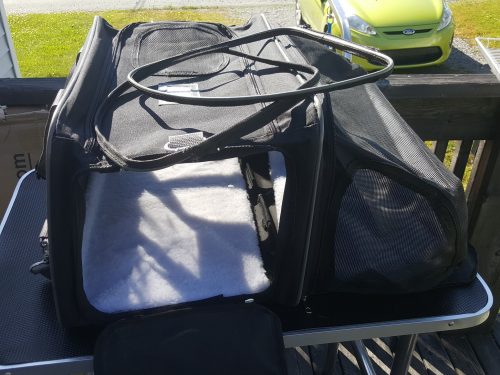
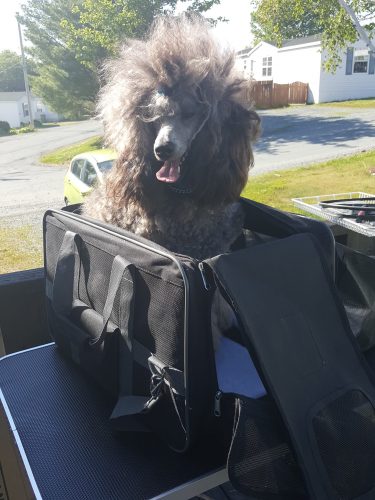
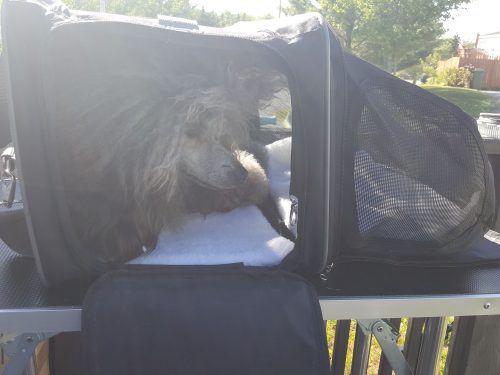
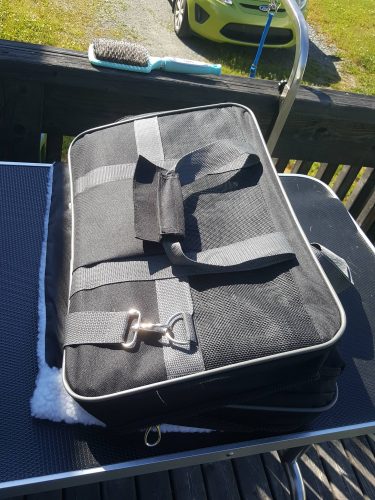
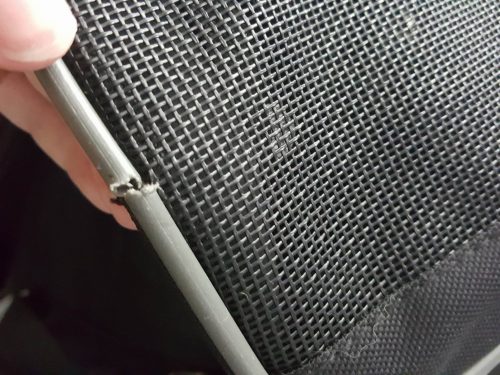
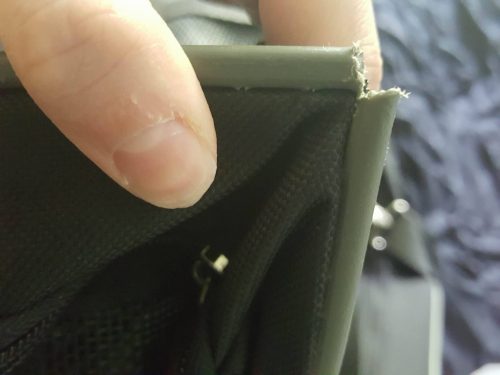
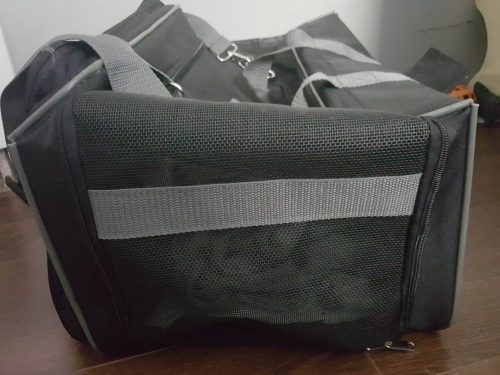
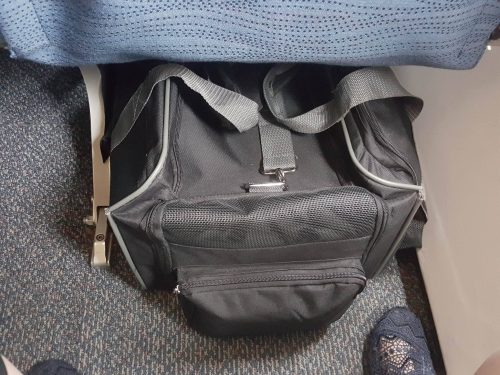
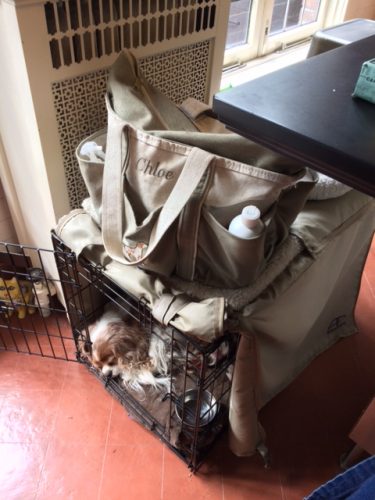
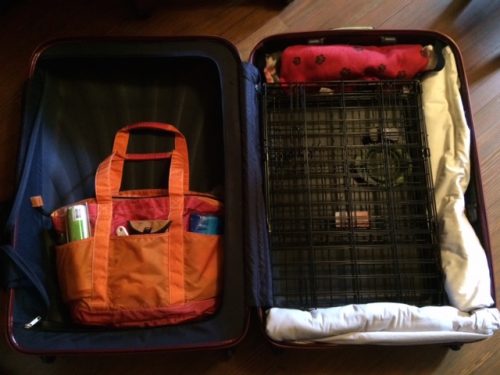
In my ongoing effort to find Chloe a car bed that is big enough for her to sprawl in but would keep her safe in a crash, I landed, some years ago, on PetEgo’s Pet Tube. As you’ll see, I thought it was a great solution right up to the point (how sadly familiar those words are) that it was subjected to a crash test, and failed miserably.
Back to the drawing board, and with a bit of concern, this time, because the carriers that performed well [PDF, see page 13] in the Center for Pet Safety’s 2015 tests are both pretty small. They liked the Pet Ego Jet Set Forma Frame Carrier with ISOFIX-Latch Connection, and the Sleepypod Mobile Pet Bed with PPRS Handilock. The PetEgo Jet Set carrier (which is at the heart of the first assemblage) is a handsome and well-made carrier, but I’ve never warmed to it because I find it skimpy on mesh panels, and therefore skimpy on ventilation and visibility. Also, its biggest size is 22″L x 10″W x 13″H, which PetEgo suggests is big enough for a 22 lb. dog. I can’t agree. That’s longer than Chloe’s large SturdiBag, and an inch taller, but it’s 2″ narrower in the body. I wouldn’t put a pup larger than 15 lbs. in it, especially on a substantial road trip.
Similarly, the Sleepypod Mobile Pet Bed is a magnificent product — no ventilation problems with this one, and I have great admiration for the Sleepypod line — but even the biggest Sleepypod bed (the “Sleepypod Medium”) is too small for Chloe. It’s 13″ tall and 17″ round on the outside, so say about 1-2″ smaller in usable space, and that’s snug for a 15 lb. dog. If your pup is 10 lbs. or less, I would rush to purchase the Sleepypod bed, install it in your car, and call it a job well done.
But what about your larger small dog? The solution I’m now trying, at the suggestion of several Dog Jaunt readers, is the AirPupsaver. It wasn’t included in the Center for Pet Safety’s line-up, but has, apparently, been independently crash tested (the video is available at the link I provide). It comes in two sizes, for dogs up to 25 lbs. and dogs up to 45 lbs. I purchased both, partly out of curiosity, and partly in what turns out to be a forlorn hope that the smaller size would be portable enough to pack in a suitcase.
The AirPupSaver, as you’ll see, is meant to function like a puffy baseball mitt. Your dog rests in the palm of the mitt, secured to it by a harness, and the “fingers” part of the “mitt” catches her if she’s flung forward in a car crash. The bed is well padded to start with, but it also has two or three (depending on the model) air chambers in the fingers area that you inflate with a provided air pump; that added air provides a cushy pad into which your pup, God forbid, hurtles.
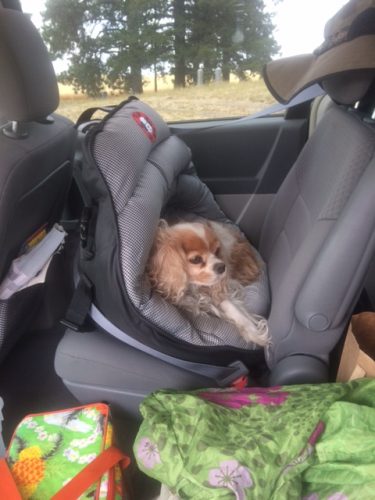
Chloe reclining in her AirPupSaver 25, installed in a Chrysler Town & Country minivan.
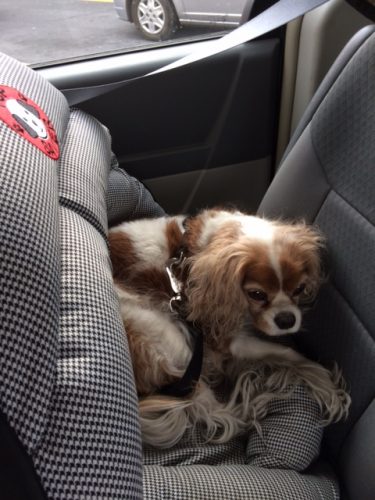
Reclining in a different position — she moves around well in the bed, and seems comfortable. This picture shows you the harness and strap combination that secures her to the bed, too.
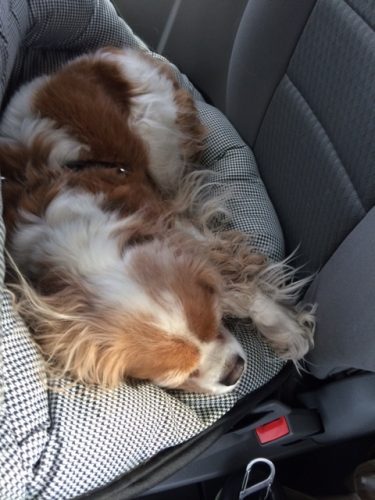
Like I say, she’s comfortable.
More details below, but after a month of using both sizes of AirPupSaver (including a very long road trip as well as daily errand runs), both Chloe and I approve of the bed. It’s comfortable for her, and is believably safe. Installing it (especially the first time) is non-trivial, and you’ll find yourself taking extreme measures to avoid moving/reinstalling it, but it’s well-made and sensibly designed. For a 15-lb. dog like Chloe, I recommend the AirPupSaver 25 — the bed made for dogs up to 45 lbs. provides more room, but takes up a lot more car space and is beastlier to install and move (and Chloe, it turns out, doesn’t use the additional space).
Installing the AirPupSaver
The company provides a number of sets of instructions, none of which, I find, tells the whole story. On its site, PupSaver offers three different videos of the installation process (plus crash test videos). The most useful one is 1:55 minutes long, and focuses on the AirPupSaver 45. Printed instructions are included with the bed, in a packet with a seat belt clamp and an air pump. After studying both closely, I still had trouble installing the bed. Here’s what I wish I had known before heading out to the car:
- Inflate the air channels first, in the comfort of your home, then walk out to your car with the bed;
- The wider of the two pump nozzles worked best for me, as did using my hands to squeeze the pump — stepping on the pump by the side of the car, as shown in the video, was not a happy experience;
- There are two air channels in the AirPupSaver 45, but there are three in the AirPupSaver 25;
- If you’re installing an AirPupSaver 45, do a quick Google search to identify typical locations for top tether latch anchors — they vary by vehicle, and until now I’d never noticed them; and
- When you’re securing the bed’s plastic clips around the diagonal part of the seat belt, you will not use all of the available clips — there are two position “F” clips, as there are two position “E” clips, and you will only use one of each (the ones you use will depend on which side of the car you install the bed on — it seems obvious now, but the company info is sketchy, and on the blazingly hot summer day that I chose to install the bed, I tried to loop the belt through all of the “E” and “F” clip options).
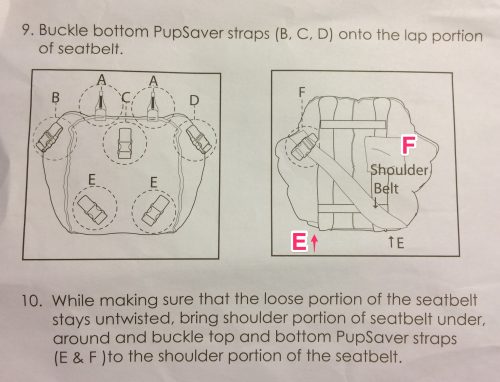
Here’s a piece of the printed instructions, with my annotations. The chart on the left shows the bottom of the bed, with the clips that secure the bed to the lap part of the seat belt (B, C, D), and both of the clips that might secure the bed to the diagonal part of the seat belt (E), called out. The chart on the right is of the back of the bed, but it shows only one of the two E-F options. Please note that the actual bed has two E’s and two F’s, as I’ve indicated, and you will choose one E-F option or the other, depending on which side of the car you choose to install the bed.
Here’s a picture of Chloe sitting up in her AirPupSaver 25, installed in a minivan. Two hooks (letters A in the printed chart above) clip onto the seat’s latch bars. This PupSaver does not have a top tether hook, so the only overhead strap is the seat belt, tamed up at the wall of the car with a heavy-duty clamp (which gives it the play the safety system needs, while keeping the belt from pulling the top of the bed onto Chloe). That gray seatbelt passes through a plastic clip on the far shoulder of the bed (not visible) and another clip in the left foreground (visible, but black, so you have to know where to look for it) before clipping into its normal buckle, down by Chloe’s left front ankle. Most of the verticality of the “fingers” section comes from inflating three air channels — you can see two of them pretty easily, to Chloe’s right, but there are three altogether in the AirPupSaver 25.
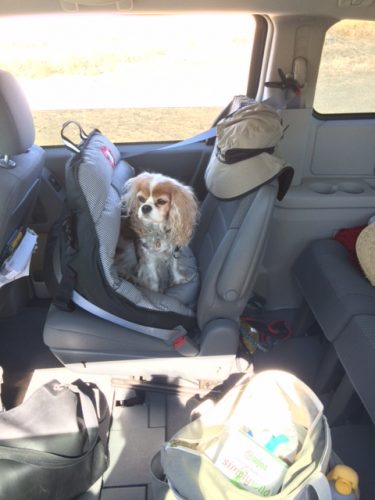
Chloe sitting up in the AirPupSaver 25
The AirPupSaver 45 looks very similar, but is significantly larger, and there are two more overhead straps, stretching from the top of the bed on the left (by the bed’s handle), over the back of the seat, to the latch anchor on the back of our station wagon’s passenger seat (there’s one on the back of this seat, too).
And here’s a picture of Chloe having dinner in her AirPupSaver 25, to give you another glimpse of the harness and strap in action:
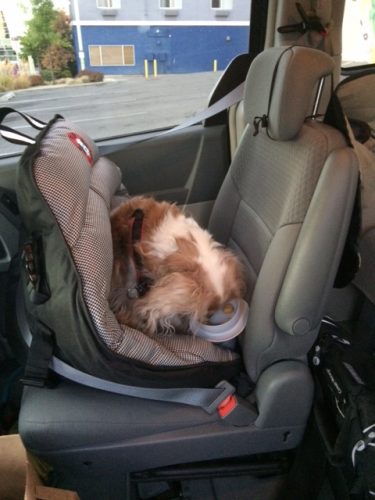
Chloe is secured to the bed by a strap that emerges from a hole in the floor of the bed, and clips to the back of a harness, provided by PupSaver. You can just see the harness-and-strap combination behind her right ear. It appears not to cramp her style at all.
After a month of use
What I like about the AirPupSaver is that it’s large enough for Chloe to stretch out in, and since it’s not enclosed, ventilation is not an issue. Chloe is clearly comfortable in both sizes of bed, and I believe that she would be safe in it in a crash. She’s just tall enough to see out the window a bit, which is a nice change for her from the fully-enclosed Pet Tube.
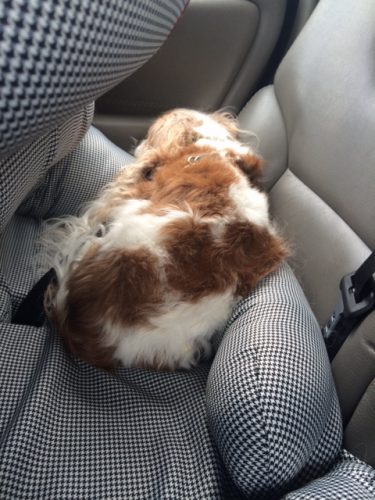
Chloe asleep in the “palm” of the AirPupSaver 45. It’s a big bed — I thought she’d sprawl out in it, but she tends to curl up instead. For 15-lb. Chloe, I think the AirPupSaver 25 is the better choice.
Negatives? The fingers part of the mitt cuts off my view of Chloe, unless she happens to be peering around the edge of the bed. Installing the AirPupSaver 45 in our station wagon took considerable effort and patience (the smaller AirPupSaver 25 clipped much more easily into our minivan), and I surely do wish that the provided air pump was better quality.
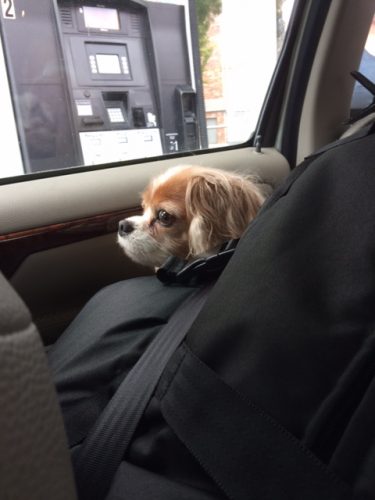
Chloe peeping around the far (from the driver’s perspective) side of the AirPupSaver 45, installed in a station wagon.
How about actually using the bed? It takes, say, half a minute or so to insert Chloe into the AirPupSaver harness and clip it to its strap — that’s more tedious than just heaving her into the Pet Tube and zipping it shut, and it also leaves me feeling a bit exposed to bad ‘uns (I live in Seattle, a pleasant but urban city, and I don’t like having my upper half entirely engaged with in-car activities while my lower half hangs out there street-side). My current workaround is to get into the car’s back seat altogether with Chloe, and insert her into her AirPupSaver from the side not occupied by the bed.
The AirPupSaver can, reportedly, also be installed in the front passenger seat, but that’s not workable for me. My husband often occupies that seat, and it’s fiddly enough to install the AirPupSaver that you won’t be moving it around on a whim. That’s a feature of the Pet Tube I regret sorely — no more unhooking Chloe’s car carrier from the back seat headrest and gaily tossing it into the way-back, or collapsing it into a pancake for travel. No, the AirPupSaver, once installed, is pretty much going to stay put.
Chloe does not mind the harness and strap aspect of the AirPupSaver at all. She was initially a little disconcerted by the three overhead straps of the AirPupSaver 45 (that is, the seatbelt strap that hugs the bed, and the two straps that lead back from the tips of the mitt’s fingers to the top tether anchor). Over time, Chloe has made her peace with them, especially since I learned to keep a sharp eye on the status of the inflatable channels — the firmer they are, the higher the top tether straps lift out of her airspace (this will all make sense when you install your own AirPupSaver 45). Please note that the AirPupSaver 25 does not have the top tether straps, which is a boon.
Another reason to keep an eye on the inflatedness of those channels is that if they deflate, the fingers part of the mitt will tend to fold down onto your dog like a soft taco, which Chloe finds unnerving. I recommend keeping the air pump in the car, for refills as needed.
Finally, the harness that comes with the AirPupSaver is good-quality, but it runs very large. Chloe, about the size of a large house cat, just barely wears the XS-sized harness, and that’s with the straps tightened as far as they’ll go. If you have a smaller dog, you’ll need to find a different harness solution. Please note that it must be a very heavy-duty harness with a clip behind your dog’s shoulder blades (do NOT make do with a collar, or with a harness that hooks in front of your dog’s chest) — this one, from Solvit, might be a good choice. [9/10/16 In the course of acquiring my third AirPupSaver, I learned that the harness is not automatically included with the bed — I just happened to hit upon a limited-time now-with-harness offer when I bought my first two AirPupSavers — so be alert when you order.]
That’s a long list of issues, but don’t be discouraged by them. For your larger small dog (or your smaller large dog), the AirPupSaver is a very workable and well-designed choice. I’ve been jittery since seeing the crash test videos for Chloe’s last car bed; it’s a great relief to feel, again, that she’s safe.
Here are those Amazon links again:
AirPupSaver 25
AirPupSaver 45
Solvit safety harness (small)


